Adjusting the damping setting
Positioning adjusting knobs
There are four adjusting knobs, two for the front shock absorbers and two for the rear ones. The adjusting knobs are located above each wheel. The adjusting knobs for the front wheels are located under the bonnet. The adjusting knobs for the rear wheels are located above each wheel in the wheel housing.
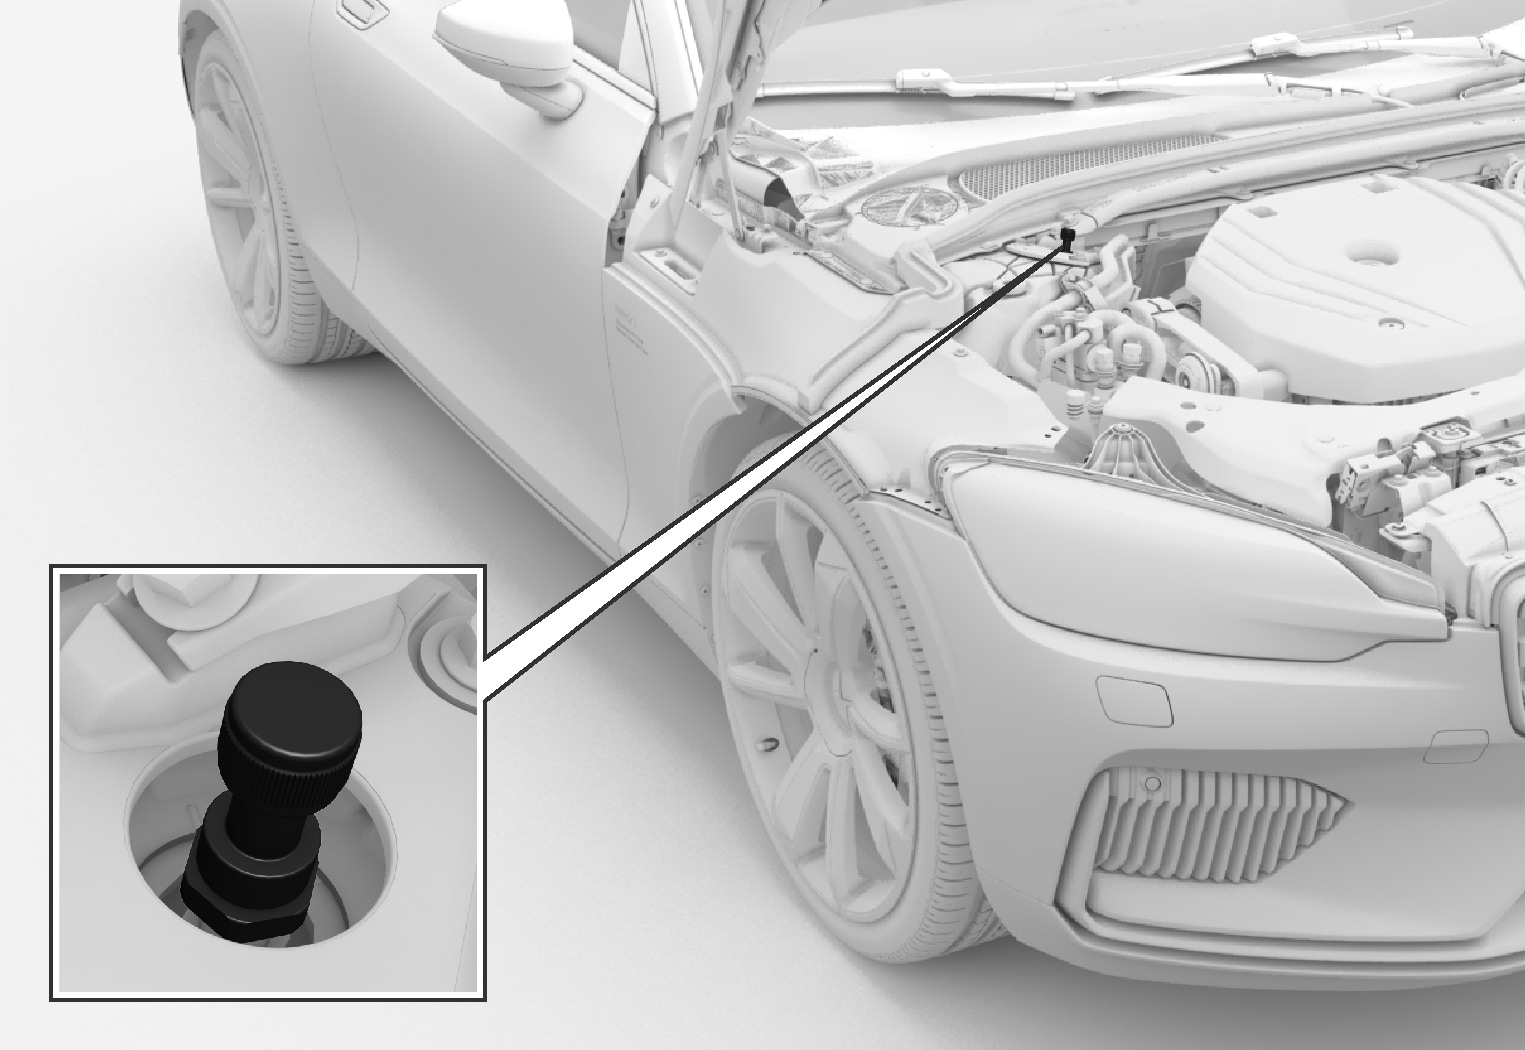
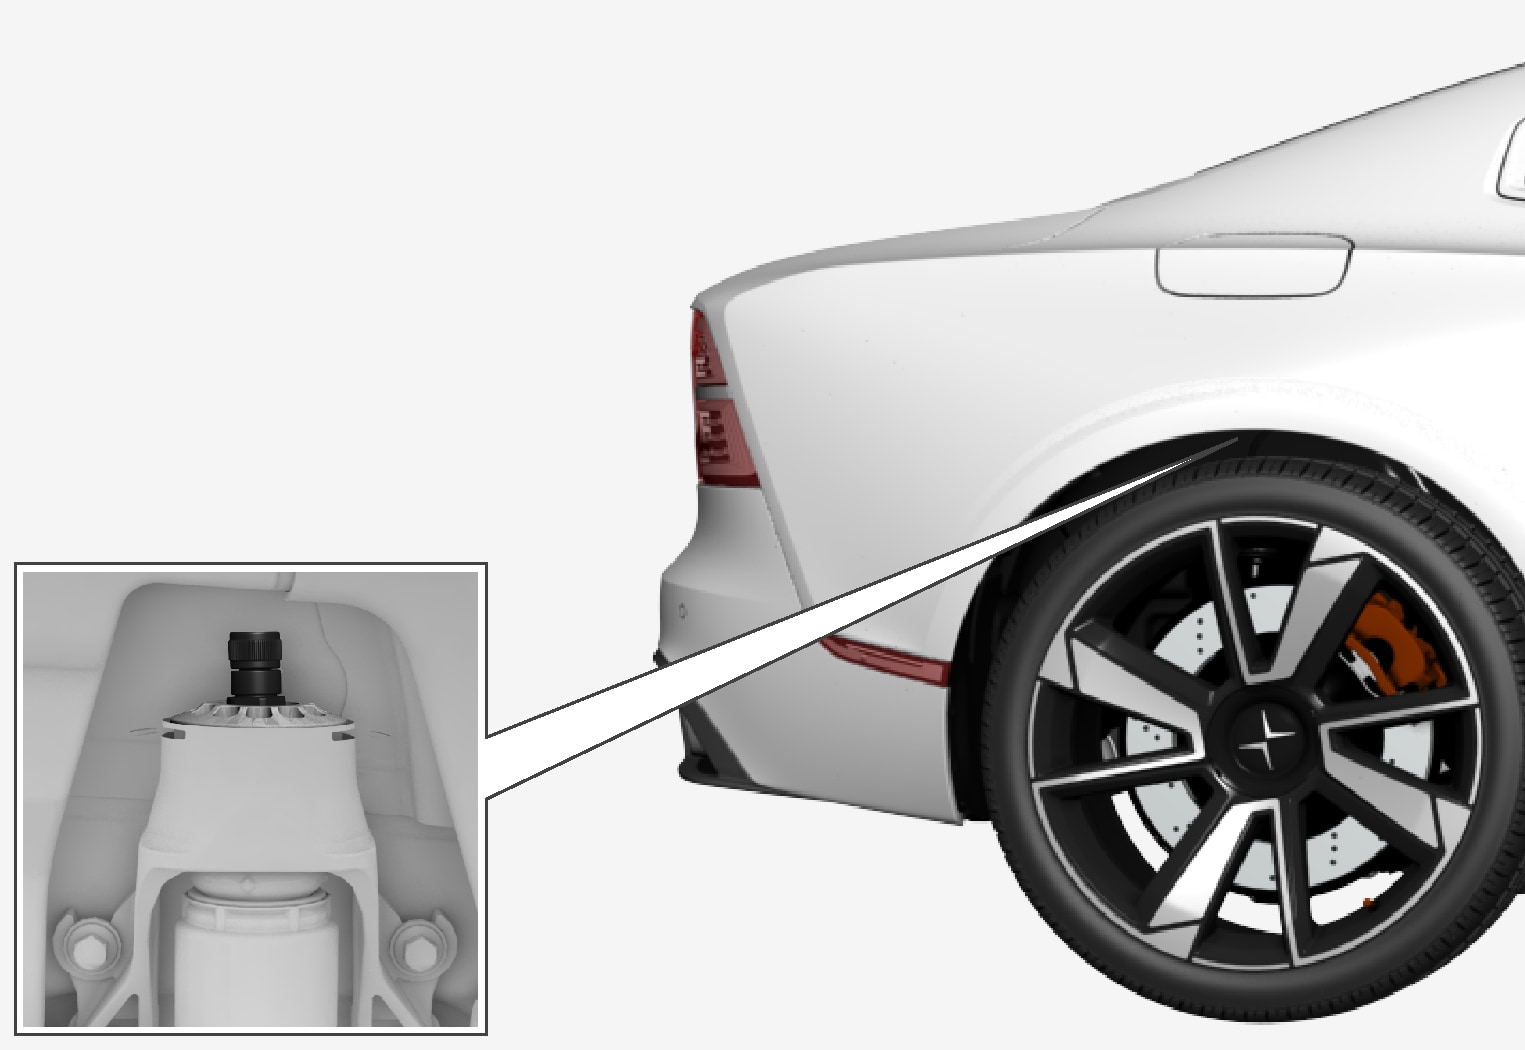
Note
Adjusting the damping setting, front
Make sure the adjusting knob is set to position 0 before commencing adjustment. This makes it easier to know which adjustment position has been set.
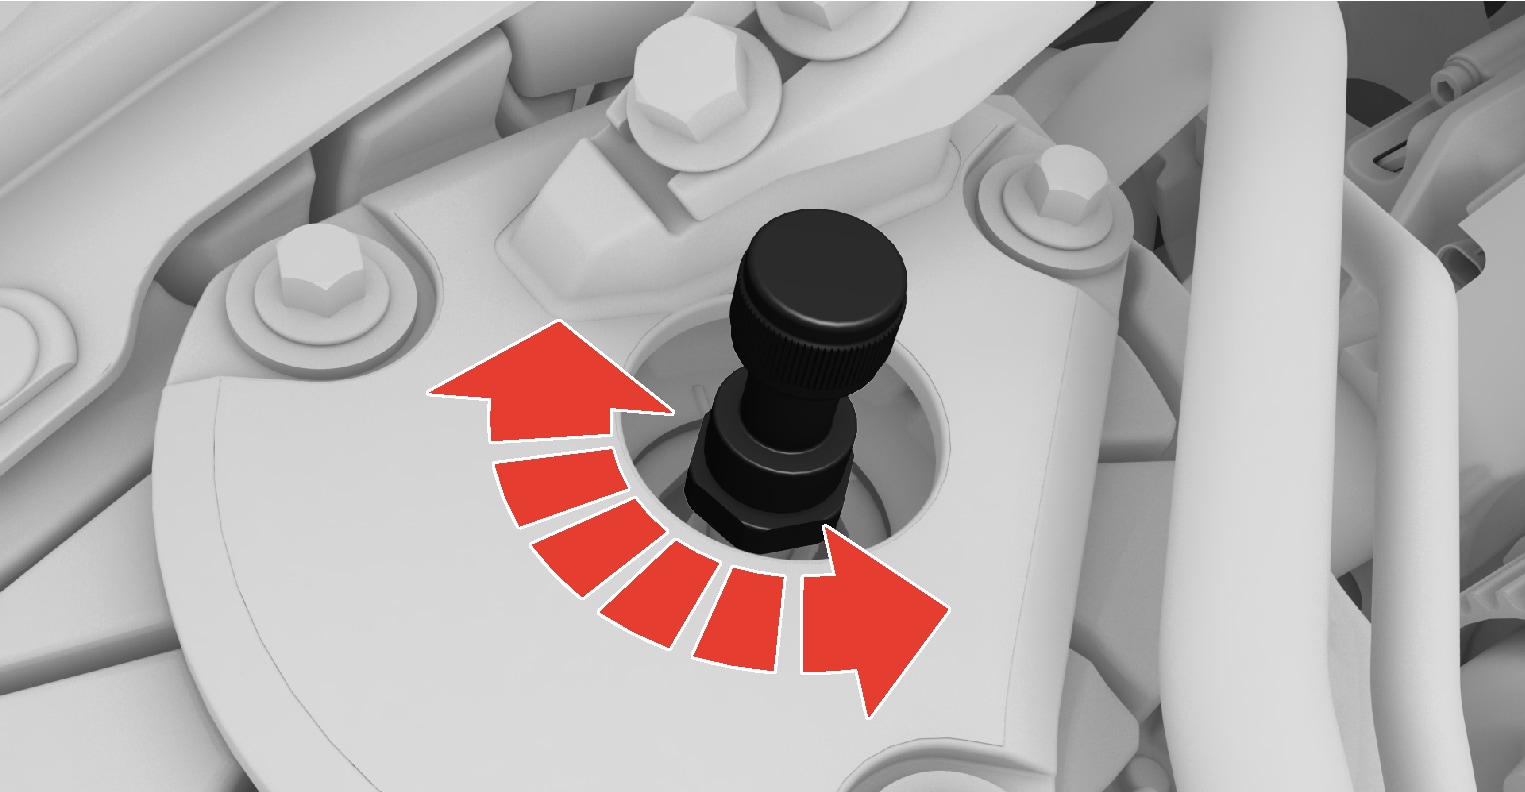

To get to adjustment position 0, turn the control clockwise until it reaches the stop.

Turn the control counterclockwise to select the preferred adjustment position. The adjustment modes are defined with audible clicks that can be felt.
Adjusting the damping setting, rear
The rear adjusting knobs are located above the tyre inside the wheel housing. To access the rear adjusting knobs, the car has to be raised using a jack; see the separate section.
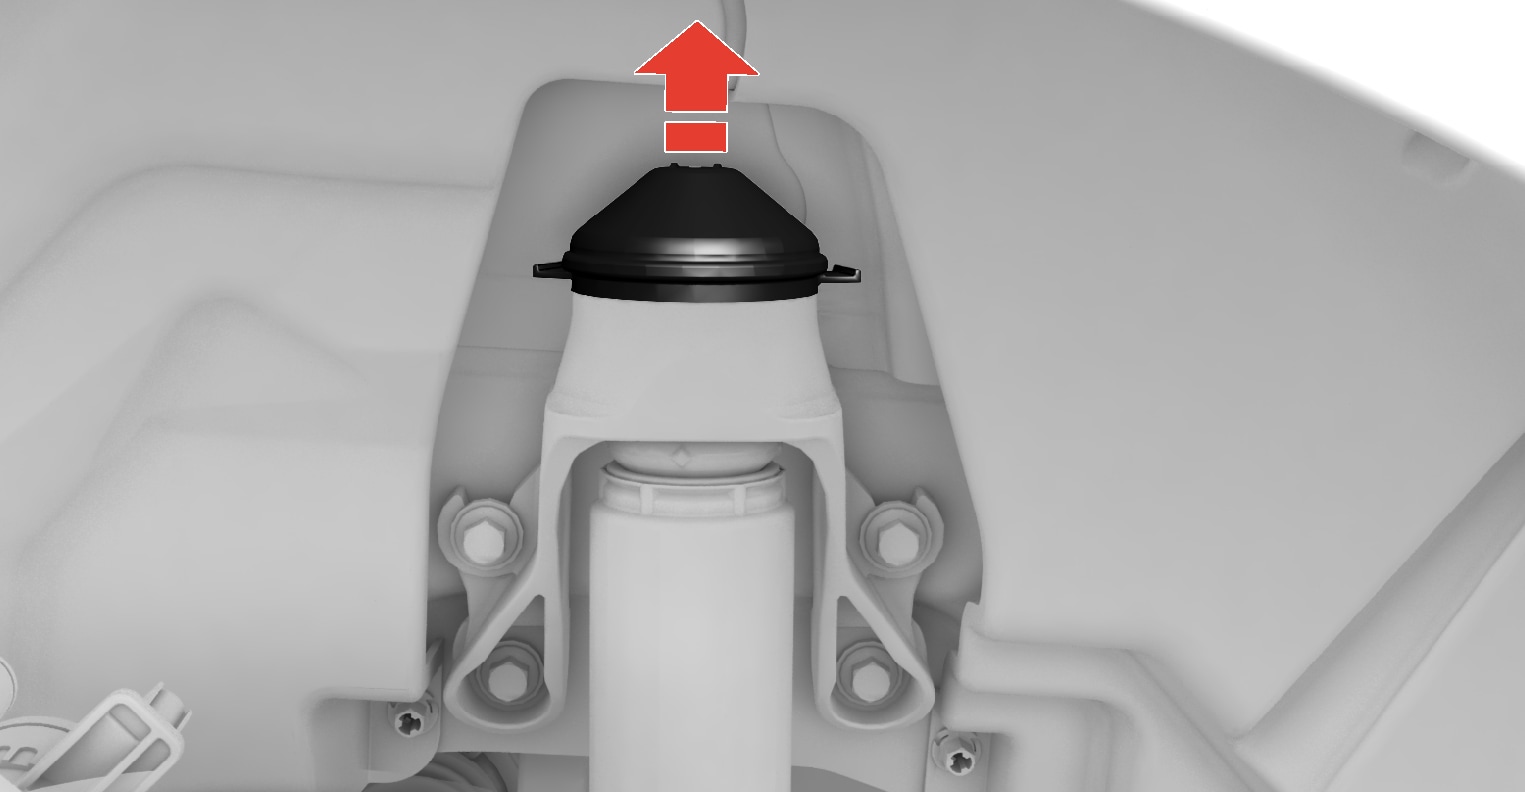
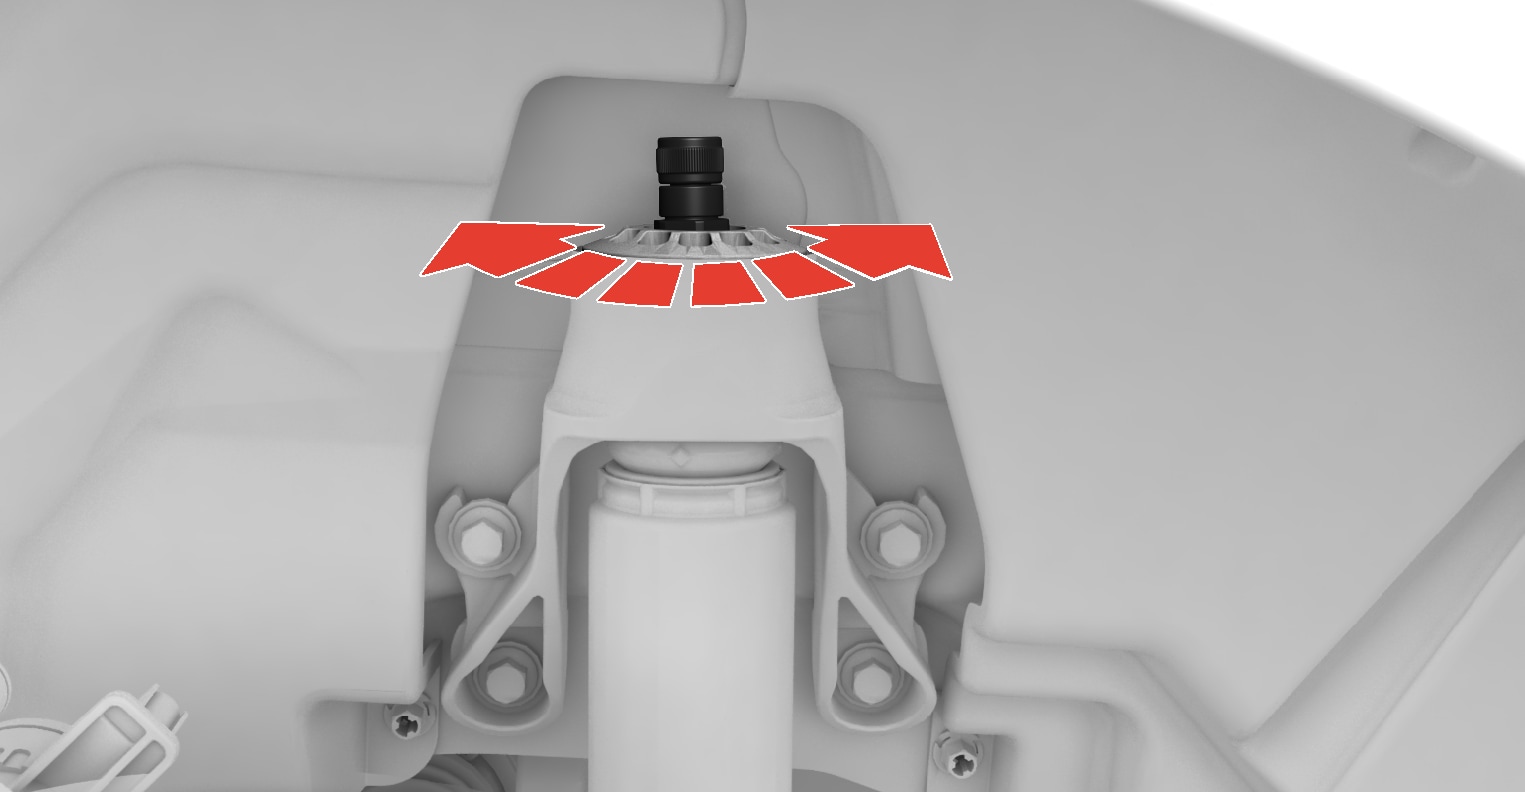

Remove the protective rubber cover covering the adjusting knob.

To get to adjustment position 0, turn the control clockwise until it reaches the stop.

Turn the adjusting knob counterclockwise to select the preferred adjustment position. The adjustment modes are defined with audible clicks that can be felt.
Note
Recommended positions
| Position | Front | Rear |
| Performance + | adjustment position 2 | adjustment position 3 |
| Performance | adjustment position 9 | adjustment position 10 |
| Dynamic | adjustment position 15 | adjustment position 16 |