Adjusting suspension settings*
Location of adjustment knobs
There are four adjustment knobs, two for the front shock absorbers and two for the rear. There are adjustment knobs next to each wheel.
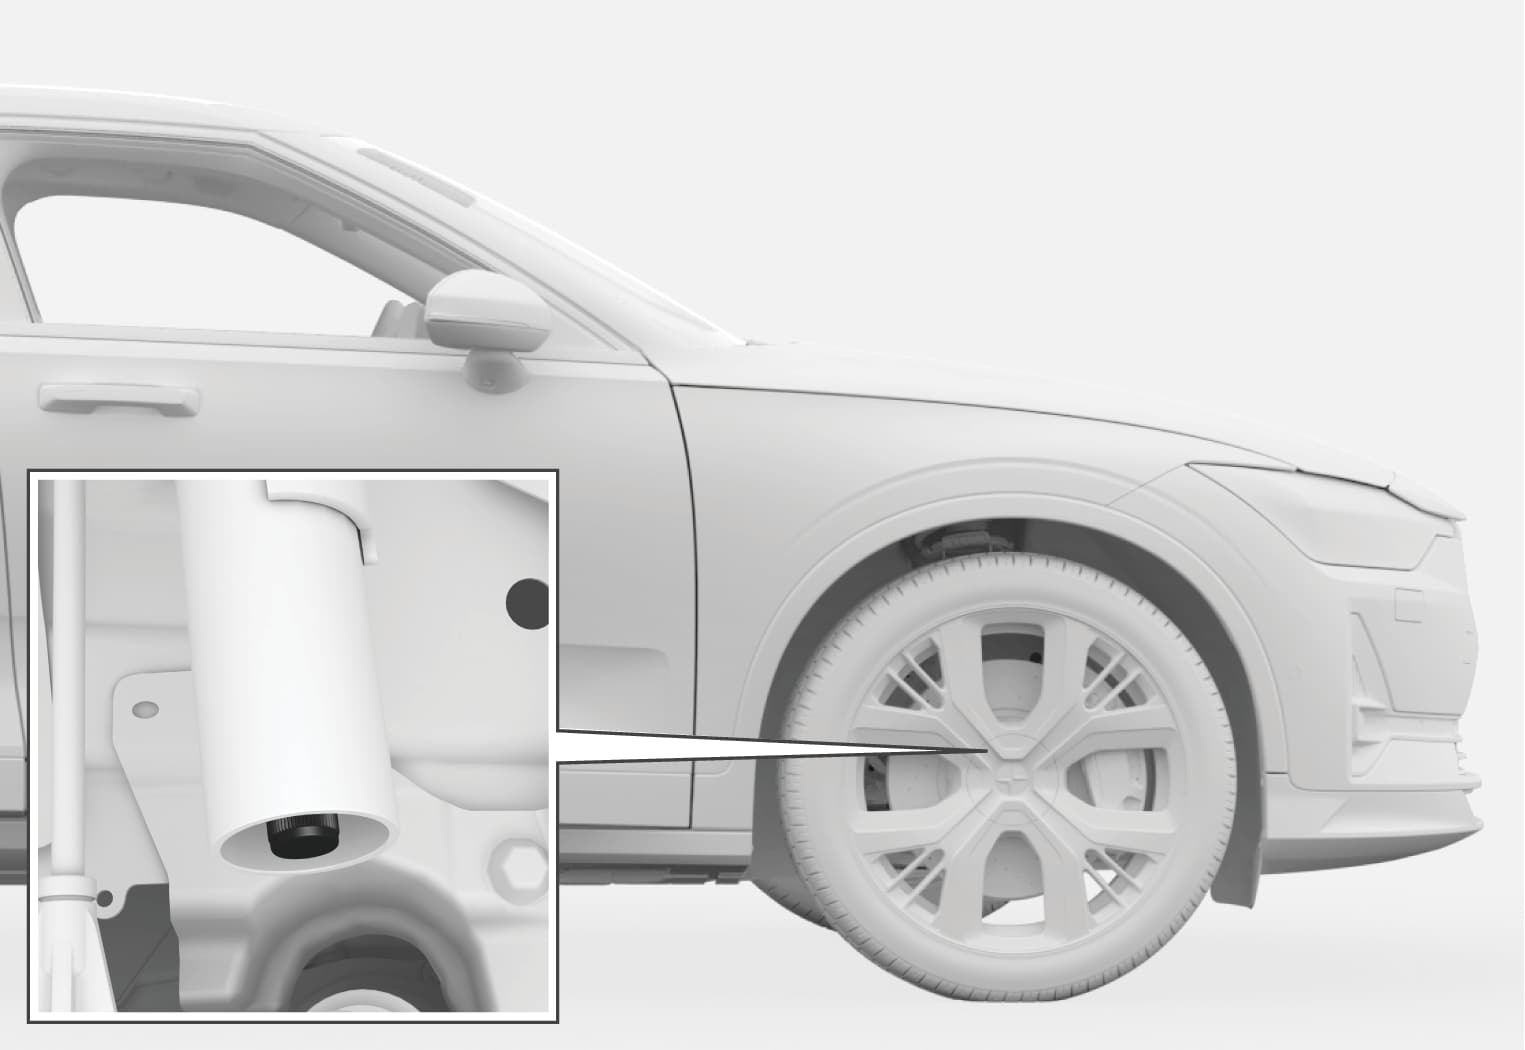
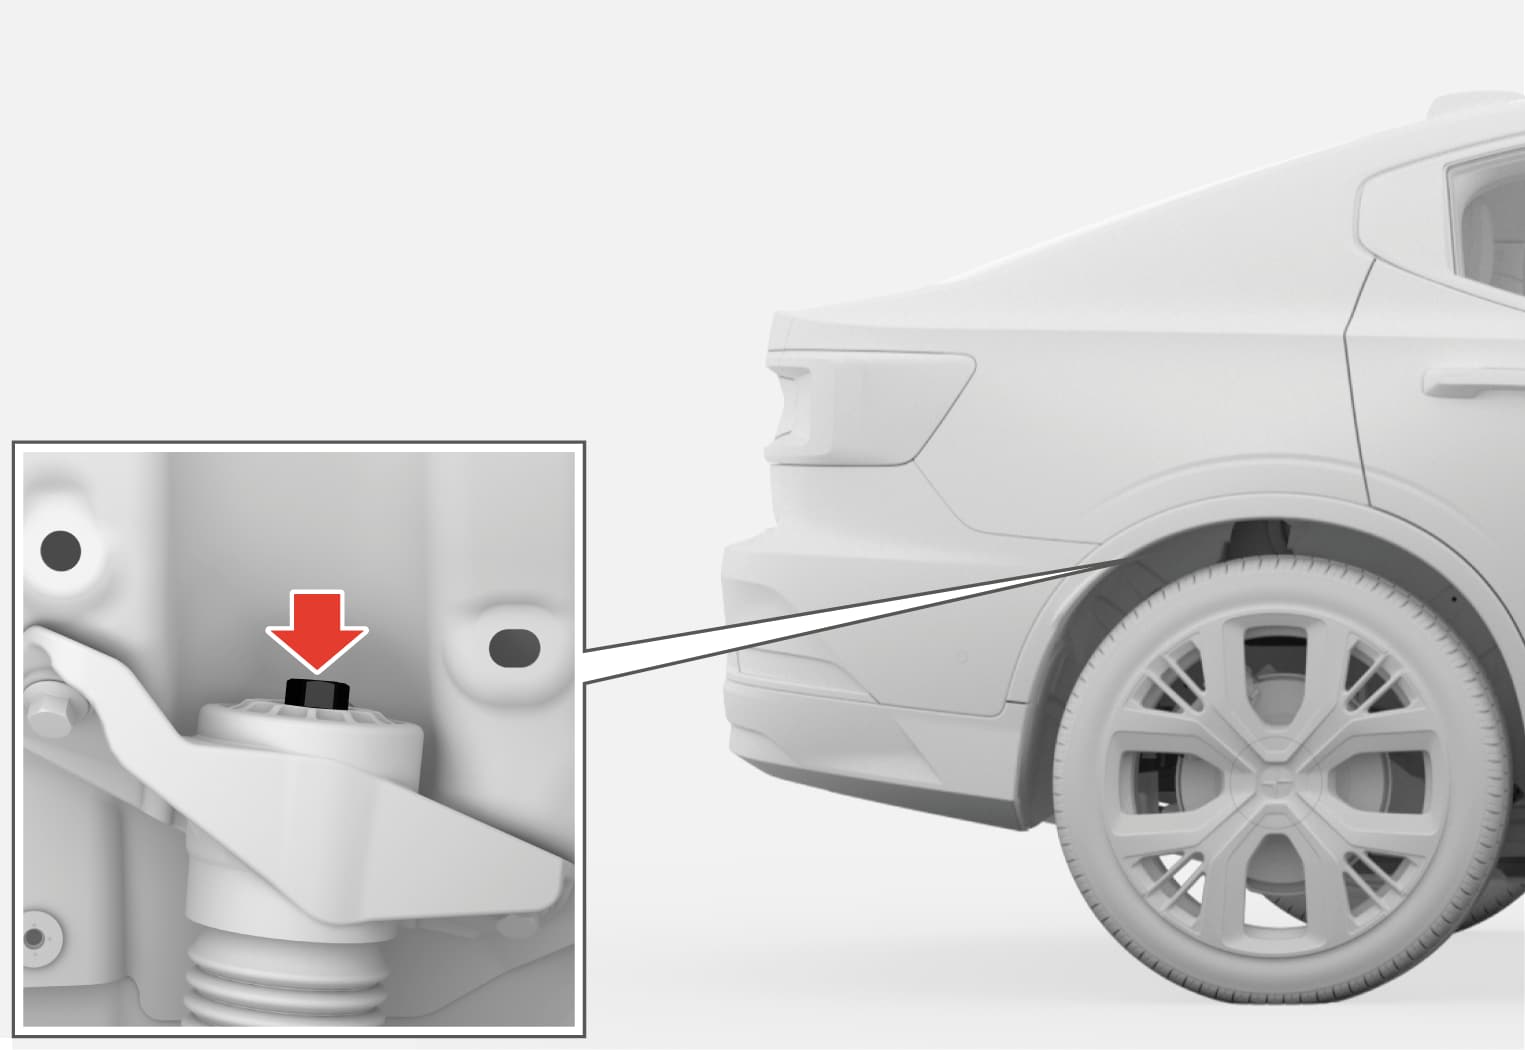
The adjustment knobs for the front wheels are located at the bottom of the shock absorber, near the wheel. The adjustment knobs for the rear wheels are located above each wheel in the wheel housing.
To access the front adjustment knobs, turn the wheel until the shock absorbers become visible. To access the rear adjustment knobs, the inner lining of the wheel housing must be loosened and the vehicle raised to a suitable height using a jack or hoist. See separate section.
Note
Adjusting front suspension settings
Important
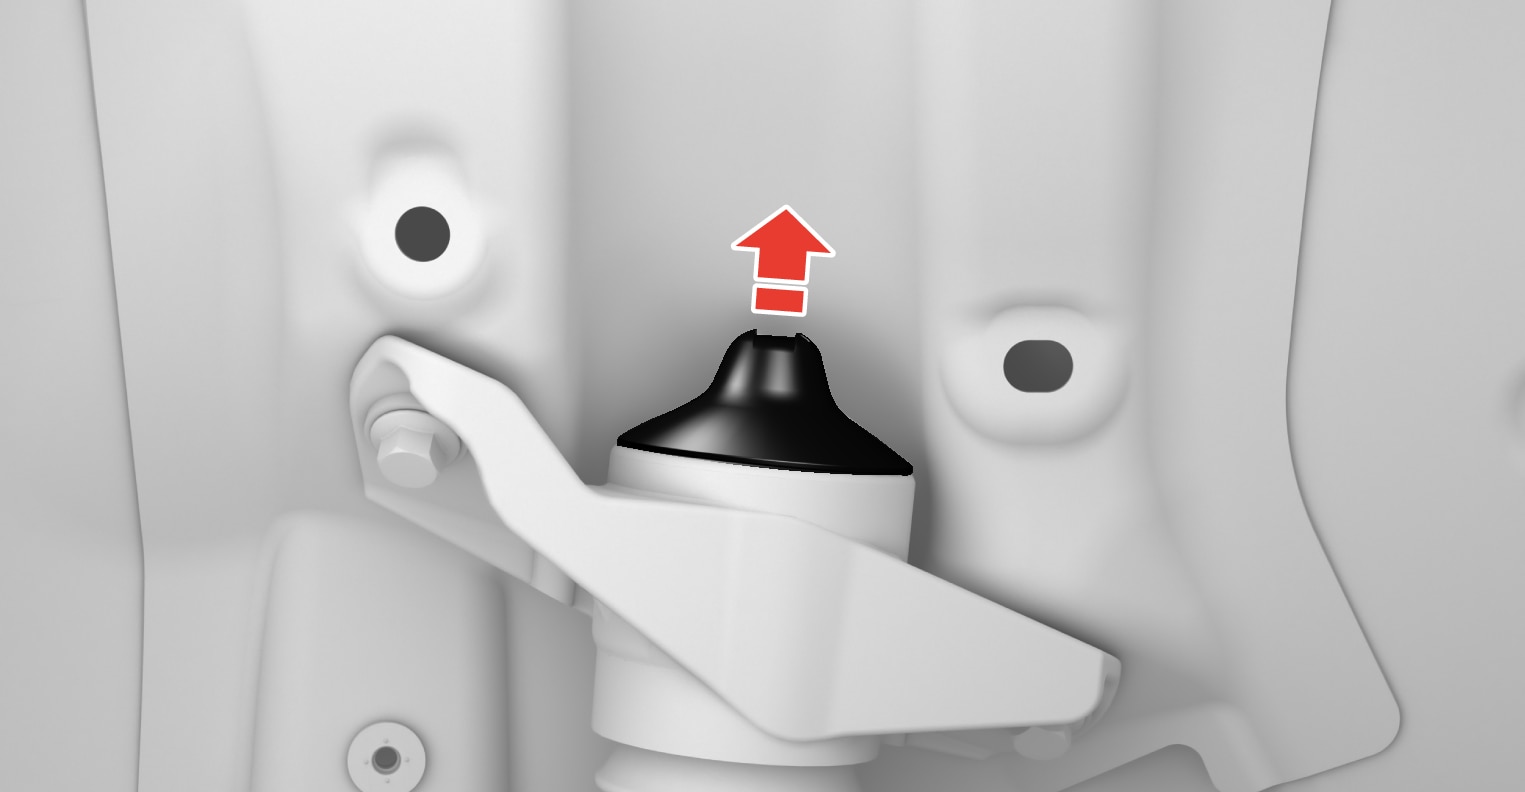
Adjusting rear suspension settings
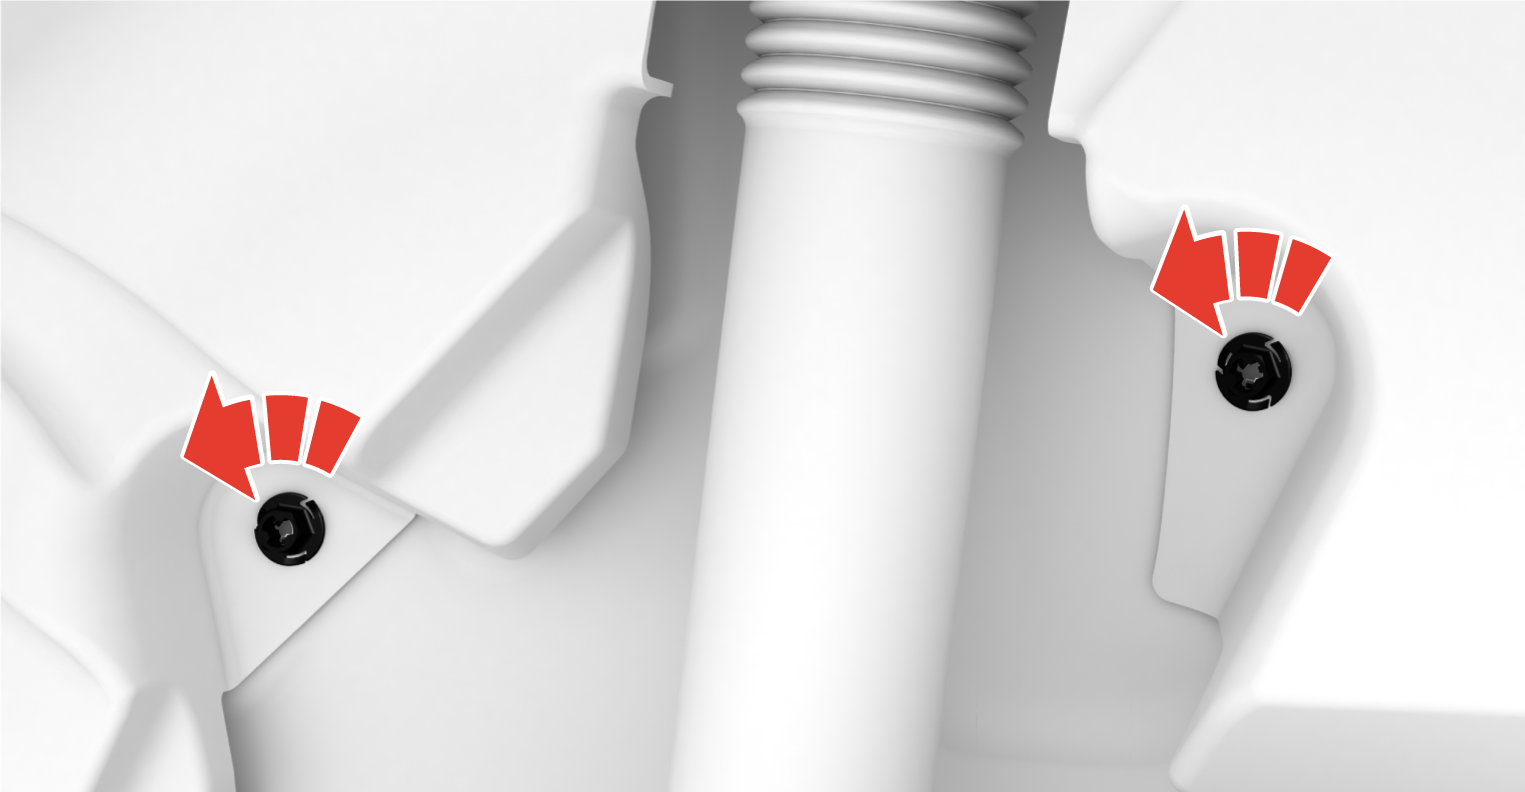
Unscrew two of the nuts to access under the inner lining. Do not loosen the inner lining completely.
Slide your hand under the inner lining and remove the protective rubber cap that covers the adjustment knob.
Important
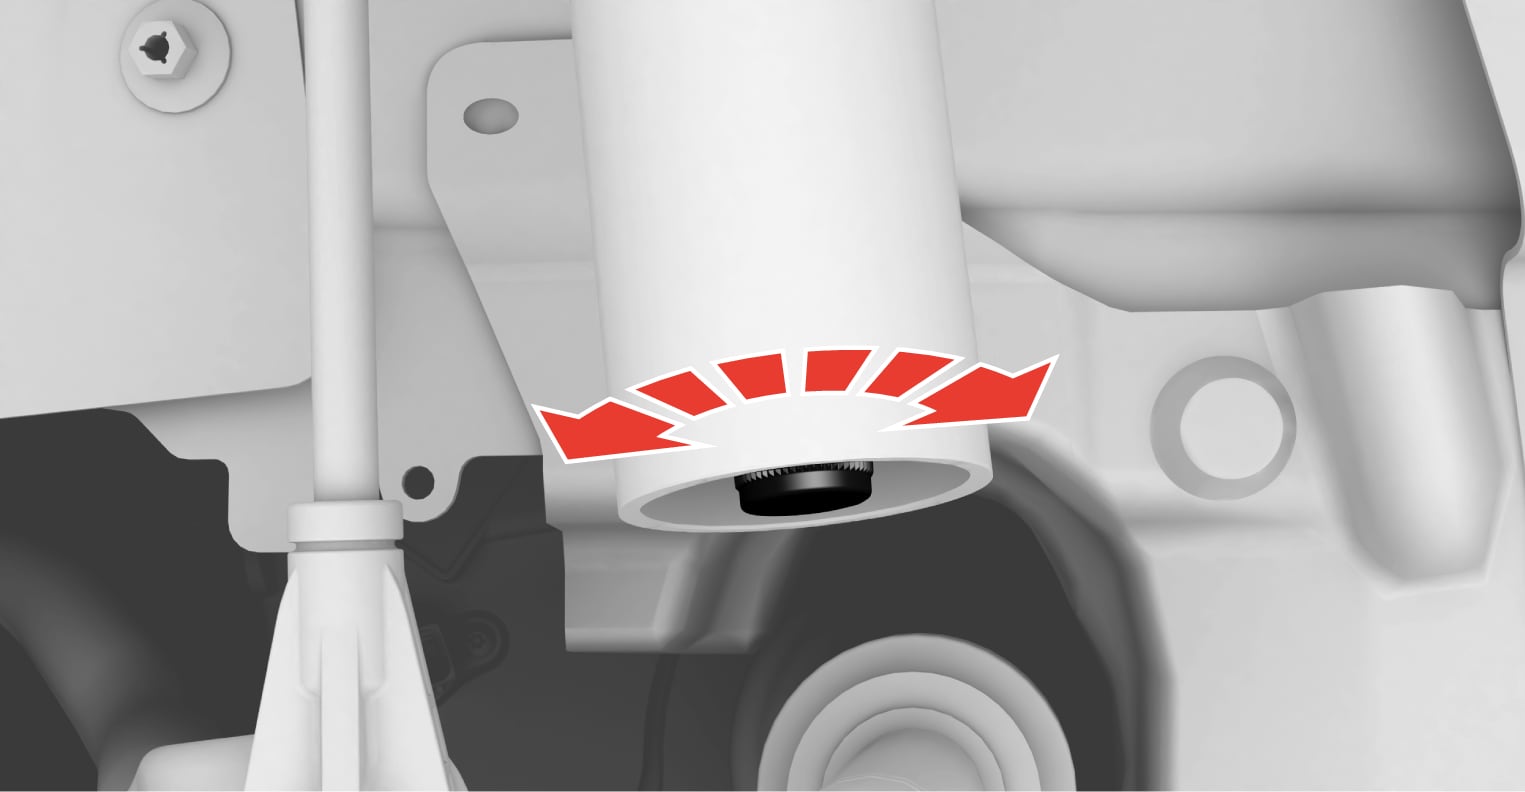
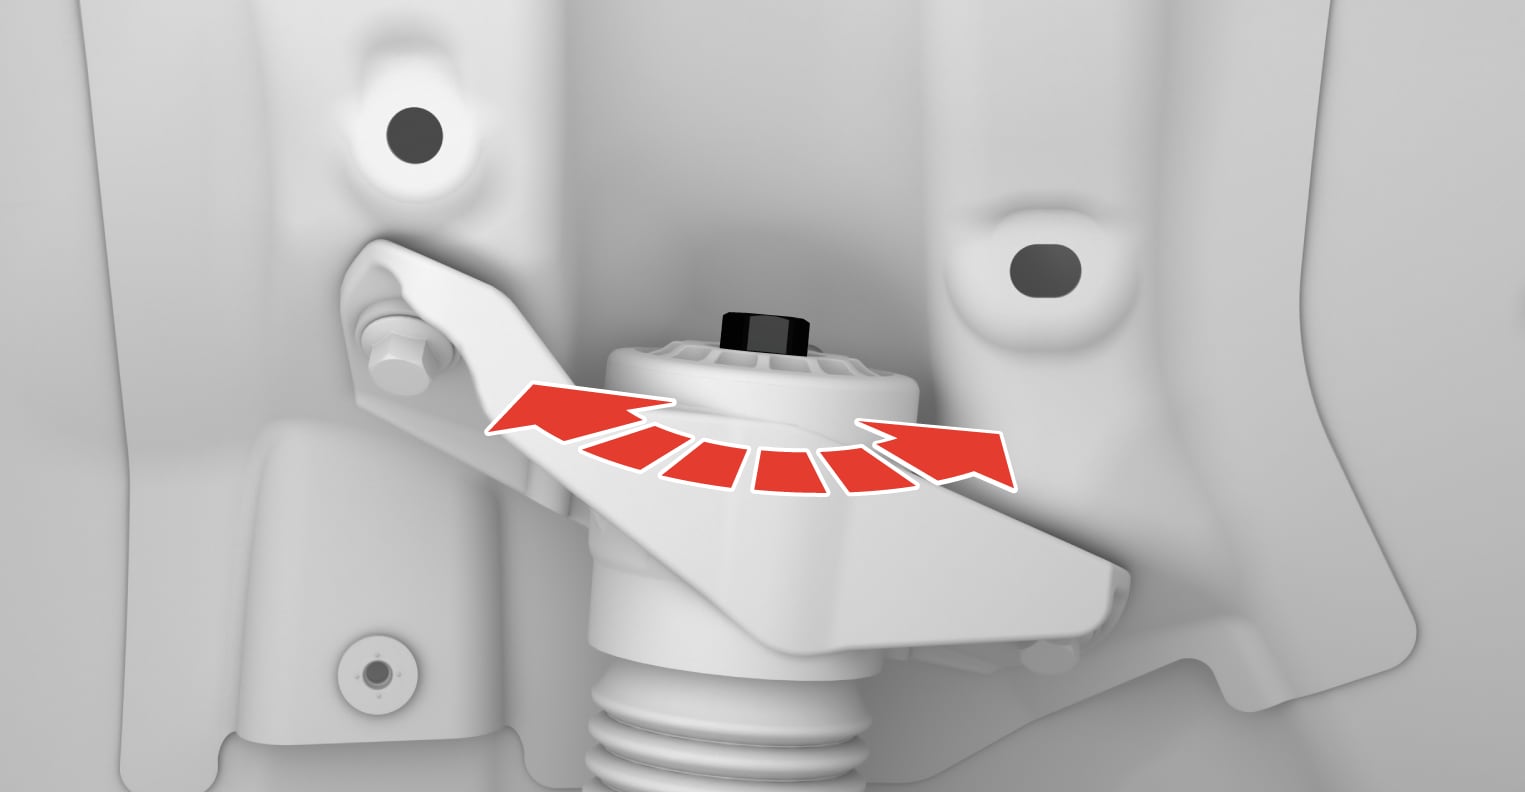
Turn the adjustment knob counterclockwise to the desired adjustment position. You should feel and hear a click each time the adjustment position is changed.
Note
Recommended positions
| Position | Front | Rear |
| Track | adjustment position 1 | adjustment position 2 |
| Nominal | adjustment position 8 | adjustment position 8 |
| Comfort | adjustment position 18 | adjustment position 20 |